
Provider Management Plans in Nookal allow practitioners to create structured, pre-formatted treatment plans that outline goals and objectives for a patient's care.
Whether you're creating a plan directly from a calendar appointment or through a patient's profile, this guide walks you through each step of the process.
Before you start...

The quickest way to access the plan section is from an Appointment in the Calendar. If there are no recent appointment for this Patient, it is also possible to reach the plan section from the Patient's Profile. See below for more details.
How to Create a Provider Management Plan from the Calendar
Hot Tips

When accessing the Plans from the Calendar, the Plan will be automatically linked to the Appointment's Case.
1. Click on the booking in the Calendar.
2. In Classic view, click Clinical Notes at the top of the appointment window.
Hot Tips

In Fresh view, click on Clinical Notes on the right-hand side of the appointment screen.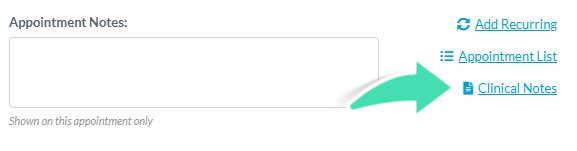
3. In the Clinical Notes section, click on the Plans tab.
Important!

If the Plans tab is not displayed, Plans might not be enabled in the account, see Enabling Provider Management Plans for more help.
4. Select the Plan Template from the list of available plans.
5. Patient and Case information already in the Patient's file will be automatically added in the plan such as the name, DOB, etc. Fill out the other required fields with the appropriate information.
6. Click Save once finished.
7. A preview of the plan will be displayed in a PDF version, from there it is possible to:
- Simply Close the plan to come back later.
- Click Edit to modify the plan.
- Click Email to email it.
Hot Tips

It is possible to Print the plan using the pdf viewer option.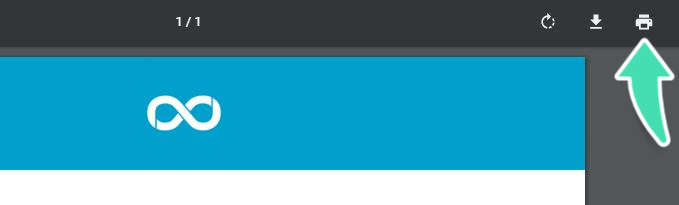
How to Create a Provider Management Plan from the Patient Profile
1. Head to the Patient's Profile.
2. Select Clinical Notes.
3. Select the appropriate Case the plan will be assigned to.
4. Follow step 3 onwards from the section above.