
Easily add Documents and Images to Patient Profiles by following the steps below.
Before you start...

Uploaded Documents along with any Letters saved for the Patient or Case will be accessible from the Clinical Notes section under the Documents tab.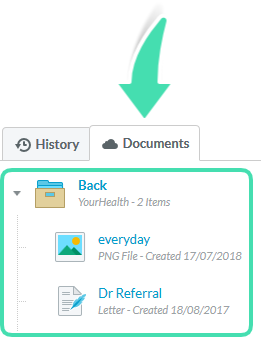
1. Head to the Patient Profile from a Booking in the Calendar. In Classic view, click Patient Info, then Patient Details at the top.
Discover more...

If no booking is in reach, find the Patient Profile in the Patients section.
Hot Tips

In Fresh view, head to the Patient tab and click Patient Details.
2. Click Documents.
3. In the Documents section, each Case has its own folder. Documents can be added directly in the Document section or in a specific Case folder by selecting the folder.
Important!

If the Document needs to be in a Case folder, select the folder before uploading the Document as it can't be moved in a different folder once uploaded.
4. When a folder is selected, it will be shown in the Upload area. Click to Upload and find your document, or drag and drop the file into the Upload area.
5. Once the progress bar has reached 100%, the Document will be stored in the folder.
6. Once the file is uploaded, select the Document to display the right side menu and use the tools as is appropriate.
Important!

Some uploaded files will be viewable directly in the browser and some will need to be downloaded. There is no restriction on the file type.