With Nookal, Users can send Bulk SMS and Emails to their Patients quickly and easily. Follow the steps below to set up and send a Bulk Message successfully.
Important!

1. Bulk Messages will only send to Patients who have completed/invoiced Bookings in the selected date-range.

2. Bulk Messages can only be sent to Patients that have consented to receive Email or SMS Marketing or Reminders.
You can update a Patient's consent via the checkboxes in their Patient Profile.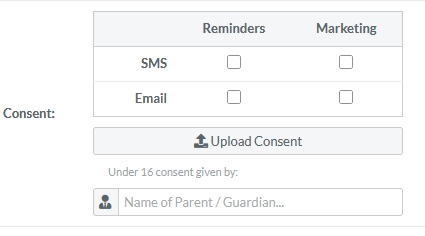
1. Navigate to Manage.
2. Under Communications, click on Bulk Messages.
3. In the bottom right-hand corner, click on Create Bulk Message.
4. In Step 1, add a Title for the Bulk Message and click Next.
5. In Step 2, select who will receive the Bulk Message. You can send it to All Patients or specify certain Patient groups by selecting Patients who had a Service or Patients who had a Class.
6. Select All Services and/or All Classes or a specific selection of some Services or Classes.
7. Choose for which Locations the message is sent (All Locations or Specific Locations – select which ones).
8. Choose for which Providers the message is sent (All Providers or Specific Providers – select which ones).
9. Set the inclusive date range your targeted Patients had bookings in Nookal. Leave as All to include Patients that had bookings at any time within your Nookal account.
10. Select for which Consent type you will be sending the message.
11. Click Next.
12. In Step 3, specify if this Bulk Message will be sent as an SMS or an Email.
Important!

Email messages are free of charge.

SMS messages have fees. Credits must be purchased before sending SMS messages, or they won’t be sent.

Credits can be purchased via Setup > Accounts > Billing > Credits.
13. Type the Message content, and click on Patient, Location or Intake Forms to add placeholders that will be replaced by the personalised information when sending the message.
Hot Tips

Use the Placeholders to customise the message for each Patient, Location and optionally choose to add an Intake Form link and select from the list of available Patient Forms.

If your account has the Patient Portal enabled you will also be able to add a Patient Portal Sign-up Link placeholder to message templates.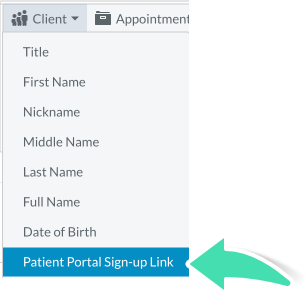
14. Click Next.
15. A preview of your message will now appear, including the number of Patients receiving it and credits used (SMS only). Click Save as Draft to send or edit the message later, or click Send to queue the Message for sending immediately.
After clicking Save as Draft or Send, the Bulk Message will be displayed in the list of Bulk Messages and can be edited, duplicated or deleted later.
Hot Tips

The logo will pull into Email Bulk Messages based on the Logo setup in the Setup > Practice > Locations area.

Find more information about adding logos here.

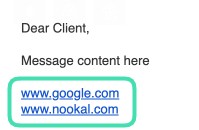
While it's not possible to add hyperlinks, links to websites can be added to the content of SMS and Email Bulk Messages by using the exact URL of the page you are trying to link to, for example: